• HNM Simulation Documentation
  • 1 Setting up phetsims
    • 1.1 Introduction to phetsims
    • 1.2 Cloning phetsims on your local machine
      • 1.2.1 Windows
      • 1.2.2 Mac
  • 2 Overview of an example simulation
    • 2.1 Introduction to Newton-Raphson Method
    • 2.2 Derivation
    • 2.3 Algorithm
  • 3 Overview of the components
    • 3.1 Introduction to Brand
    • 3.2 What is the js folder?
      • 3.2.1 What is the common folder?
      • 3.2.2 What is the newton-raphson folder?
    • 3.3 What is a model folder?
    • 3.4 What is a view folder?
    • 3.5 What is the build folder?
    • 3.6 What is newton-rapshon-strings_en.json?
    • 3.7 What is newton-raphson_en.html?
    • 3.8 What is the package.json?
  • 4 Developing your own simulations
    • 4.1 Making your brand
    • 4.2 Adding your logo and startup image
      • 4.2.1 Startup Image
      • 4.2.2 Logo
    • 4.3 Starting a new simulation
    • 4.4 Navigating through your new simulation
      • 4.4.1 Directory Structure
      • 4.4.2 Accessing your simulation
    • 4.5 Using and changing constants
      • 4.5.1 Background Color
      • 4.5.2 Defining your own Constants
    • 4.6 Strategy for development
      • 4.6.1 Planning
      • 4.6.2 Developing
      • 4.6.3 Testing
      • 4.6.4 Deployment
  • 5 Developing Newton-Raphson Method Simulation
    • 5.0.1 The Input Panel
    • 5.0.2 The Graph Panel
    • 5.0.3 The Results Panel
    • 5.1 Developing backend files
    • 5.2 Developing the Model files
      • 5.2.1 Graph.js
      • 5.2.2 Code for Graph.js
      • 5.2.3 NewtonRaphsonModel.js
      • 5.2.4 Code for NewtonRaphsonModel.js
    • 5.3 Developing supporting view component
      • 5.3.1 Constructing the equation
      • 5.3.2 Adding the equation child
      • 5.3.3 Functions
      • 5.3.4 Code
    • 5.4 Developing the Inputs Panel
      • 5.4.1 Imports
      • 5.4.2 Constants
      • 5.4.3 EquationNode
      • 5.4.4 Panel
      • 5.4.5 Slider
      • 5.4.6 Radio button group
      • 5.4.7 Assembly
      • 5.4.8 Layout
      • 5.4.9 Property.link()
      • 5.4.10 Code
    • 5.5 Developing the Graph Panel
      • 5.5.1 Imports
      • 5.5.2 Functions
      • 5.5.3 Graph Constraints
      • 5.5.4 Axis and Ticks
      • 5.5.5 LinePlot
      • 5.5.6 ScatterPlot
      • 5.5.7 Property.link()
      • 5.5.8 Updating the graph
      • 5.5.9 Code
    • 5.6 Developing the Results Panel
      • 5.6.1 Imports
      • 5.6.2 Extending AccordionBox
      • 5.6.3 Designing a layout
      • 5.6.4 Creating Text and Equation Panels
      • 5.6.5 Updating the Results
      • 5.6.6 Property.link()
      • 5.6.7 Layout
      • 5.6.8 Code
    • 5.7 Working with ScreenView to put all the components together
      • 5.7.1 Code
    • 5.8 Changes to package.json for successful build
      • 5.8.1 Code
    • 5.9 Adding script tags to include js files
  • 6 Developing common features
    • 6.1 Buttons
      • 6.1.1 Imports
      • 6.1.2 Creating the button
  • 7 Developing your own Library
    • 7.1 Prerequisites
    • 7.2 Setting up the directories
    • 7.3 Including your funtions
    • 7.4 Building your library
  • 8 Deploying your simulation on the internet
    • 8.1 Compiling the code and developing a build file
    • 8.2 Embedding a Simulation in an iframe
  • Published with bookdown

HNM Simulation Documentation

4.4 Navigating through your new simulation

Now that we've created a new project with the name newton-raphson let's go ahead and see what it is all about

4.4.1 Directory Structure

Let's start by going into the phetsims directory and looking for the newton-raphson folder and opening it up, you'll see that the content looks something like this:

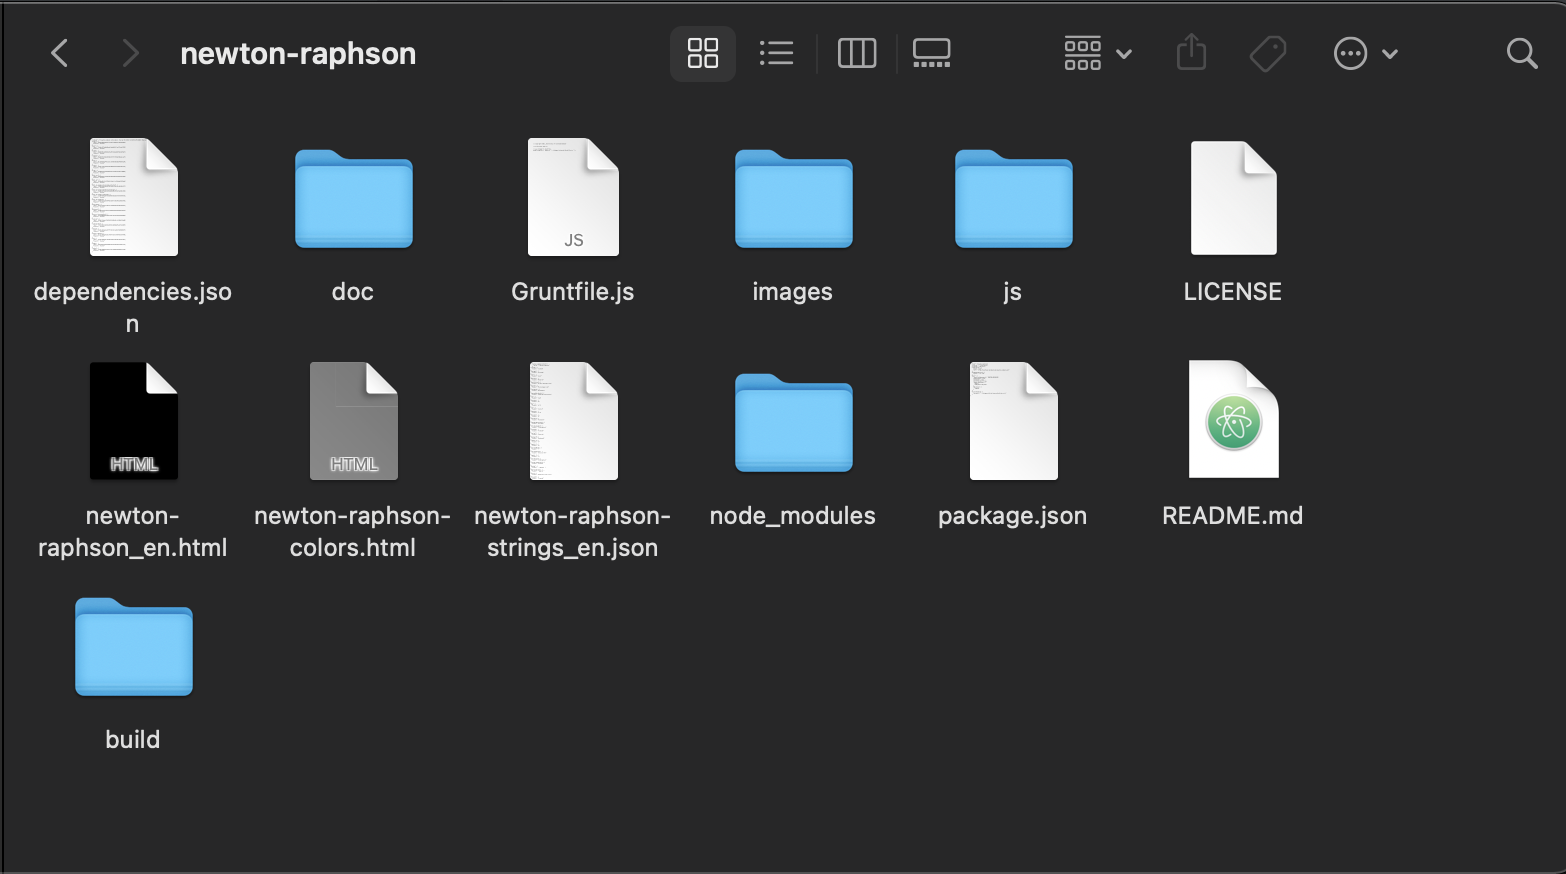
There's a lot of files but lets concern ourselves only with the ones that we need to use:

js - This folder has all the JavaScript files for your project and this is where the real development takes place (See What is the js folder?)

build - This folder contains all the build files (See What is the build folder?)

newton-raphson-strings_en.json - This file contains the title of your simulation which is displayed on the lower left corner of the screen (See What is newton-raphson-strings_en.json?)

newton-raphson_en.html - This file is the one that is accessed during development to look at what the simulation looks like so far. (See What is newton-raphson_en.html?)

package.json - This file includes the version number displayed in the About dialog and the libraries that are to be included in the build file like Bamboo, the graphing library. (See What is package.json?)

4.4.2 Accessing your simulation

Now when it comes to actually opening up the simulation web-page, you can’t just open up the newton-raphson_en.html file because the pathing with the .js files wouldn’t work without a http server.

In that regard, that is precisely what we need! Let’s start by opening up a terminal/command prompt window and following these steps:

  1. Assuming your phetsims folder is on the desktop, change to the phetsims directory by typing: cd Desktop/phetsims

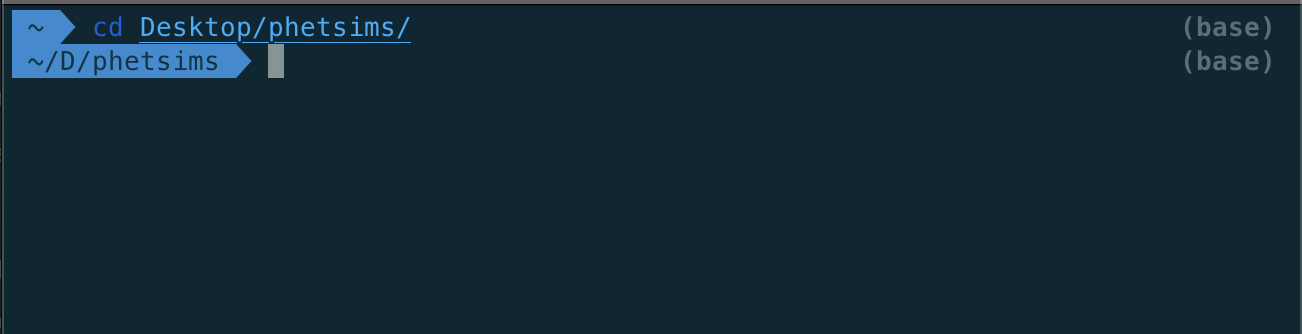
  2. Now if you have followed the entire section about Cloning phetsims on your local machine then you should have install all the prerequisites for starting a http server. All you have to do is type: http-server -c-1

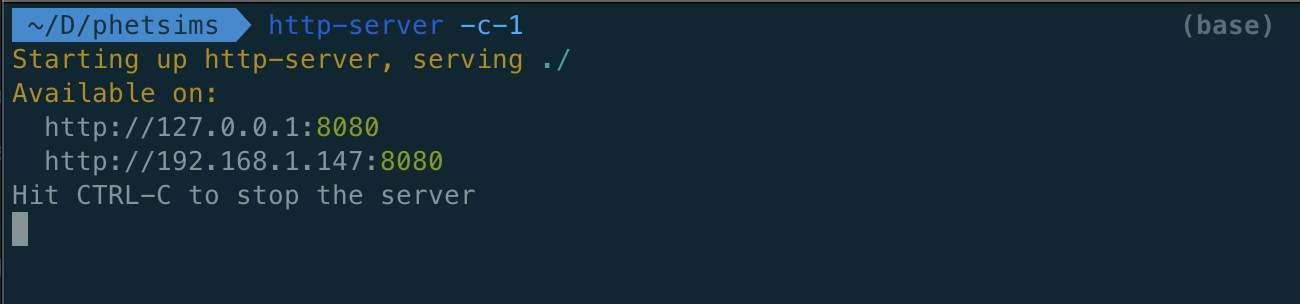
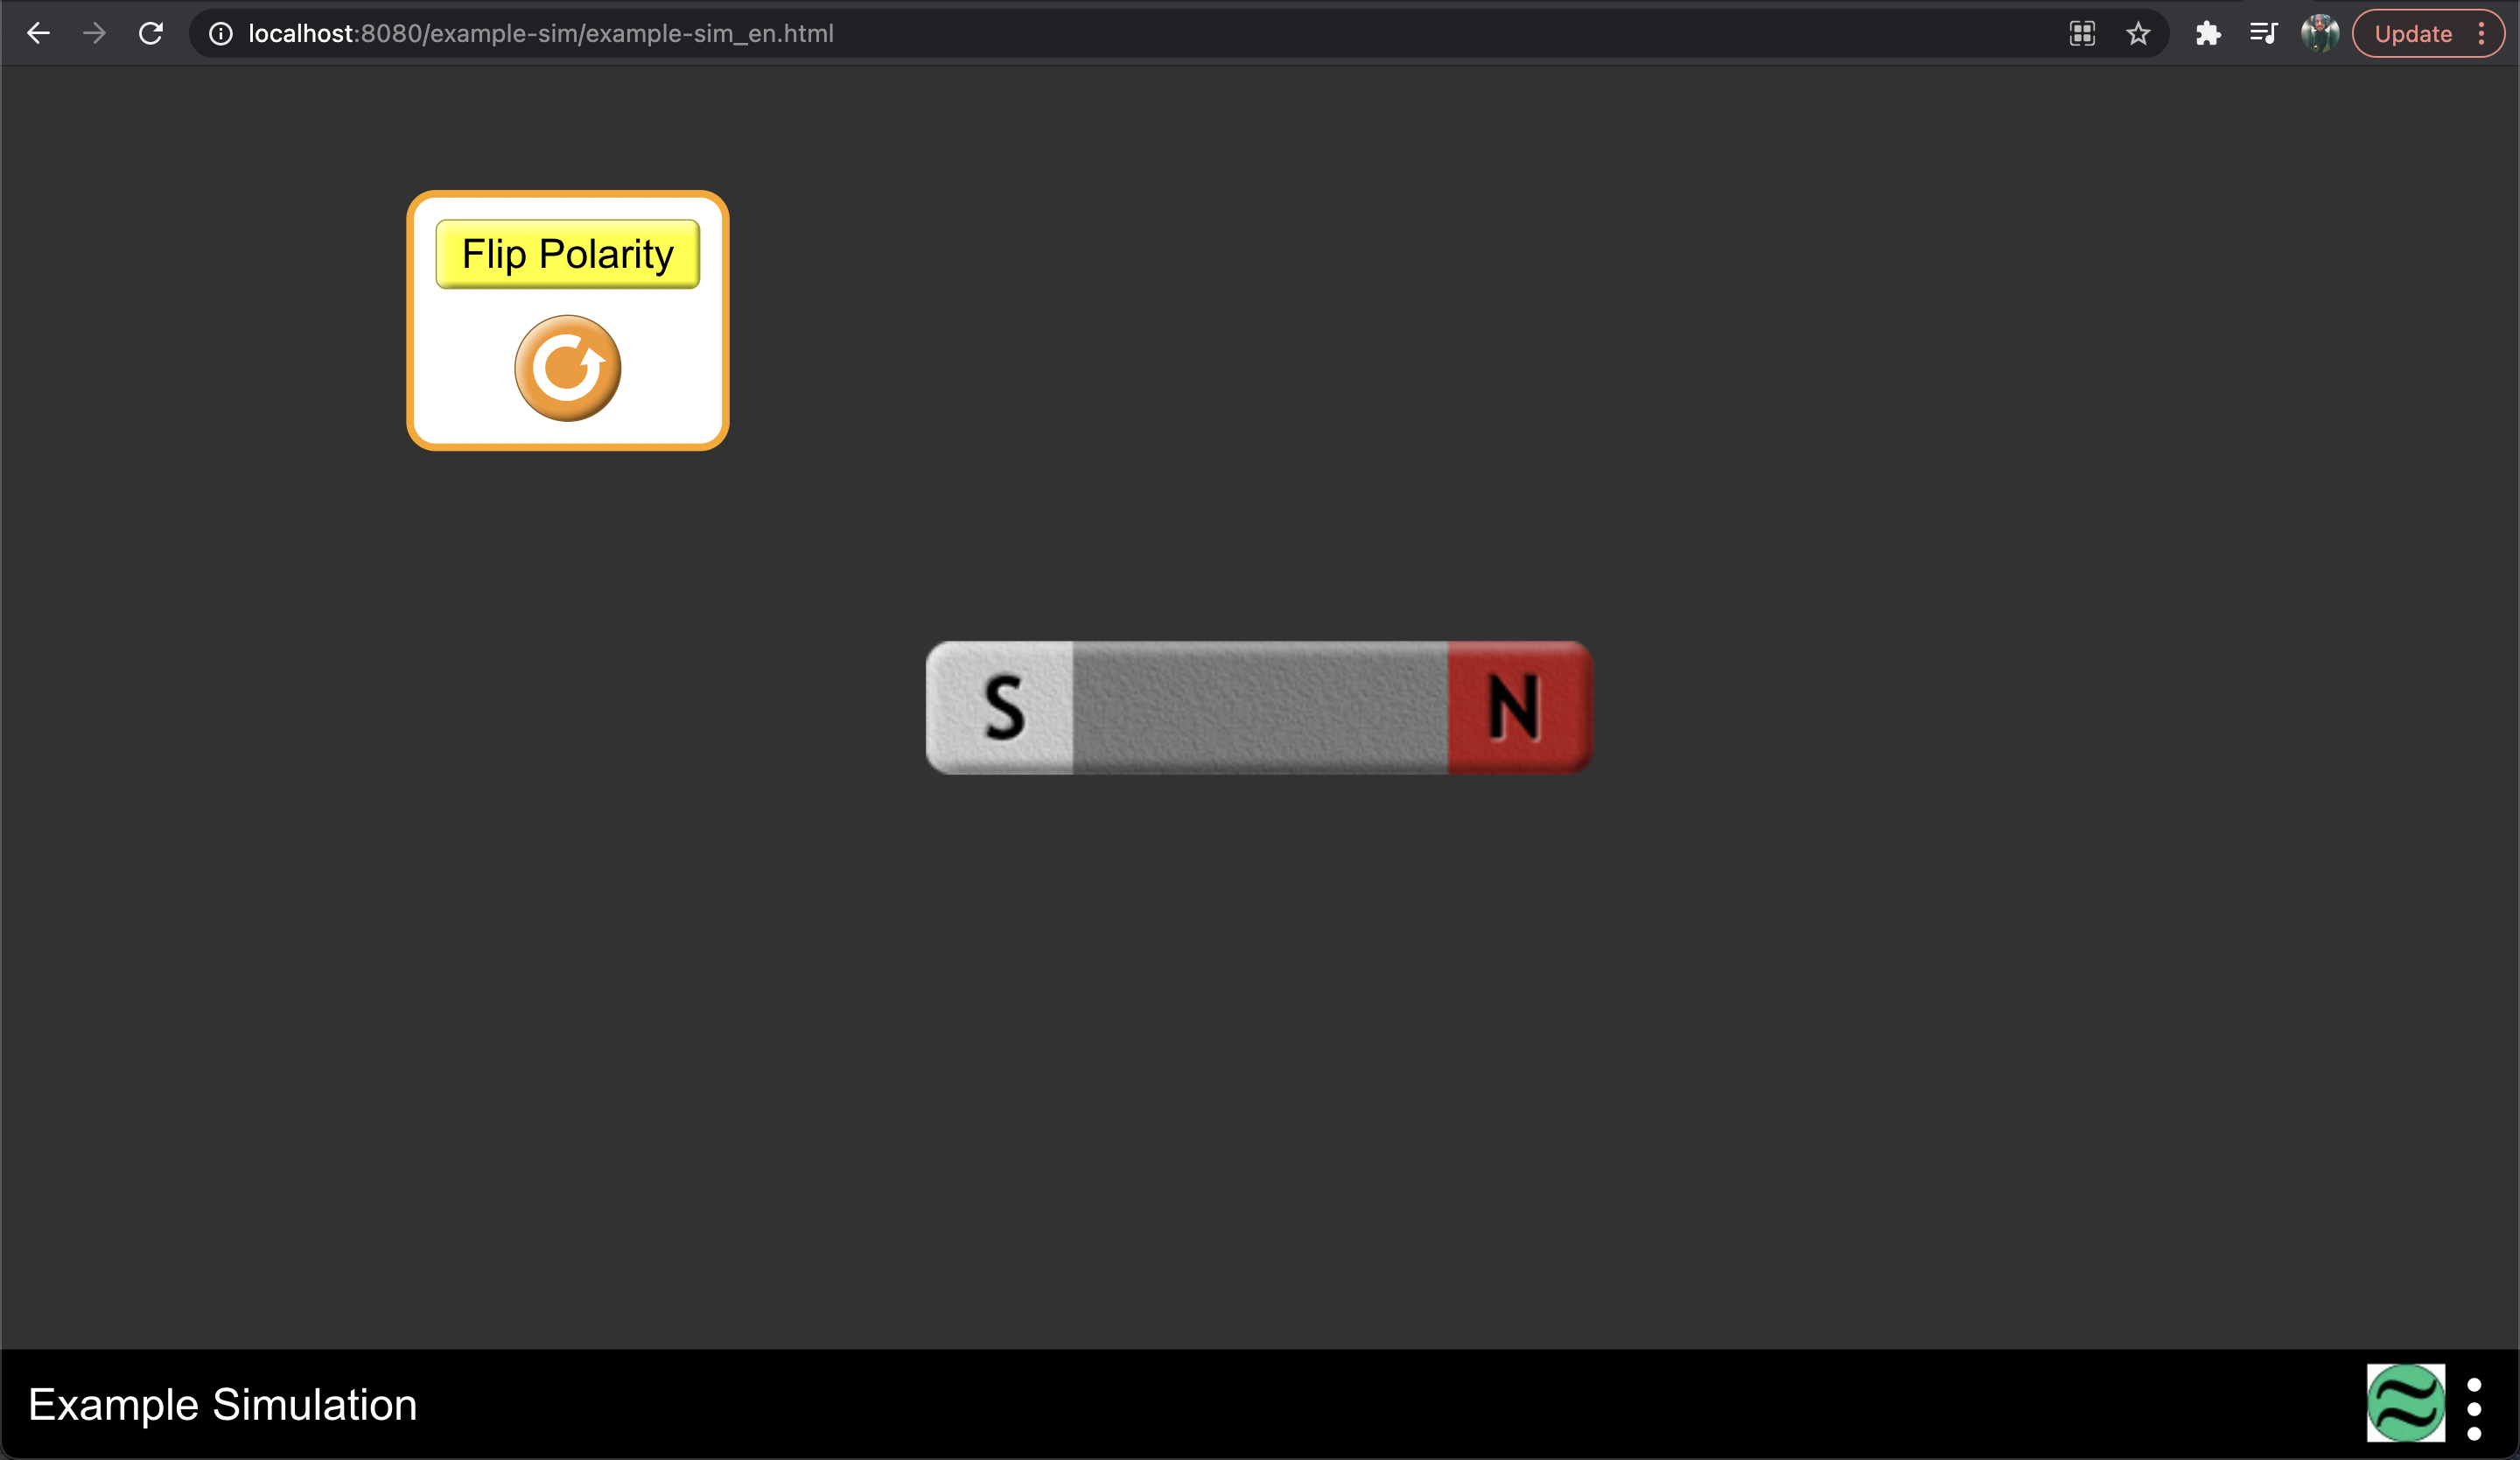
  3. Go ahead and test your server by entering the following path in your web browser:
    http://localhost:8080/example-sim/example-sim_en.html